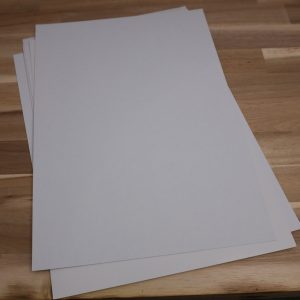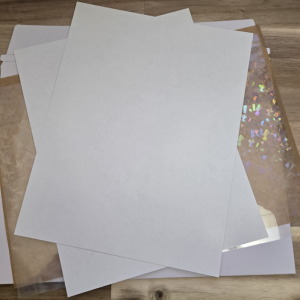
Creating your own card game is a rewarding and surprisingly achievable project, especially if you’ve got access to a decent laser printer and the right cardstock. In this guide, we’ll walk you through the full process of printing on high-quality Feels Like Magic (C2S (Coated 2 Sides) 320gsm black core playing card cardstock) using A4 sheets. This is the same kind of material used for professional-quality playing cards, and yes—you can print on it at home. Here’s how.
🔲 Step 1: Laying Out Your Cards – 9 to a Page
To maximize efficiency and minimize waste, nine standard TCG cards (63mm x 88mm) fit comfortably on an Letter sized sheet with small margins between them for cutting. Designing your layout can be done manually in graphic software like Adobe Illustrator, InDesign, or Affinity Designer, but you can also use dedicated card layout generators like ours:
- Hiro Paper PDF Generator – even if you’re not ordering from us, our template is useful with the option to upload your own designs.
Export your front and back card layouts separately. These should have identical card positions on each side to ensure alignment.
🎯 Step 2: Aligning Front and Back Perfectly
Double-sided printing is where things get tricky. Misalignment can ruin a full batch. Here are a few tips to get perfect front/back alignment:
- Use the manual feeding tray on your laser printer.
- Turn off any “fit to page” settings. You want 100% scale, not auto-scaling.
- Do a few test prints on regular paper and hold them up to the light to check alignment before committing to the expensive cardstock.
🖨️ Step 3: Printer Settings for Best Results
When printing on Feels Like Magic paper, you’re pushing your home printer to its upper limit. Most standard laser printers can only handle ~220gsm from the main tray, so follow these tips:
Use the Manual Feed Tray
- The manual feed (sometimes called the “rear tray” or “bypass tray”) allows for heavier media.
- It usually feeds straighter and doesn’t curve the cardstock as much, preventing jams or toner flaking.
Adjust Printer Settings:
- Paper Type: Set to Thick, Cardstock, Glossy, or Label depending on what’s available.
- Print Quality: Set to High Resolution or Best Quality.
- Toner Settings: Enable High Density or Max Toner Fixing if your printer allows.
💡 Note: Laser printers use heat to fuse toner, so avoid printing too many pages back-to-back to prevent overheating and curling. Let each sheet cool.
✂️ Step 4: Cutting the Cards
Now for the hands-on part—cutting your cards out. Here are some common tools and their pros/cons:
1. Rotary Trimmer
- Best for: Straight, clean cuts in small batches.
- Pro: Easy to align; precise.
- Con: Slower than guillotine for large jobs.
2. Guillotine Paper Cutter
- Best for: Bulk cutting.
- Pro: Cuts multiple sheets at once.
- Con: Harder to be pixel-perfect unless using jigs.
3. Corner Rounder Punch
- Essential if you want the classic playing card feel.
- Tip: Look for a 3mm rounder as TCGs often use that or 2.5mm.
✅ Pro Tip: Use a cutting jig or template overlay to ensure consistent trimming across batches.
Final Thoughts
Printing your own card game on Feels Like Magic paper isn’t just possible—it can produce results that rival professional print shops when done carefully. The keys are:
- Smart layout planning
- Careful alignment
- Correct printer settings
- High-quality manual feeding
- Precise cutting and rounding
Whether you’re prototyping, self-publishing, or just making a custom deck for fun, mastering this process opens up a world of creative freedom.